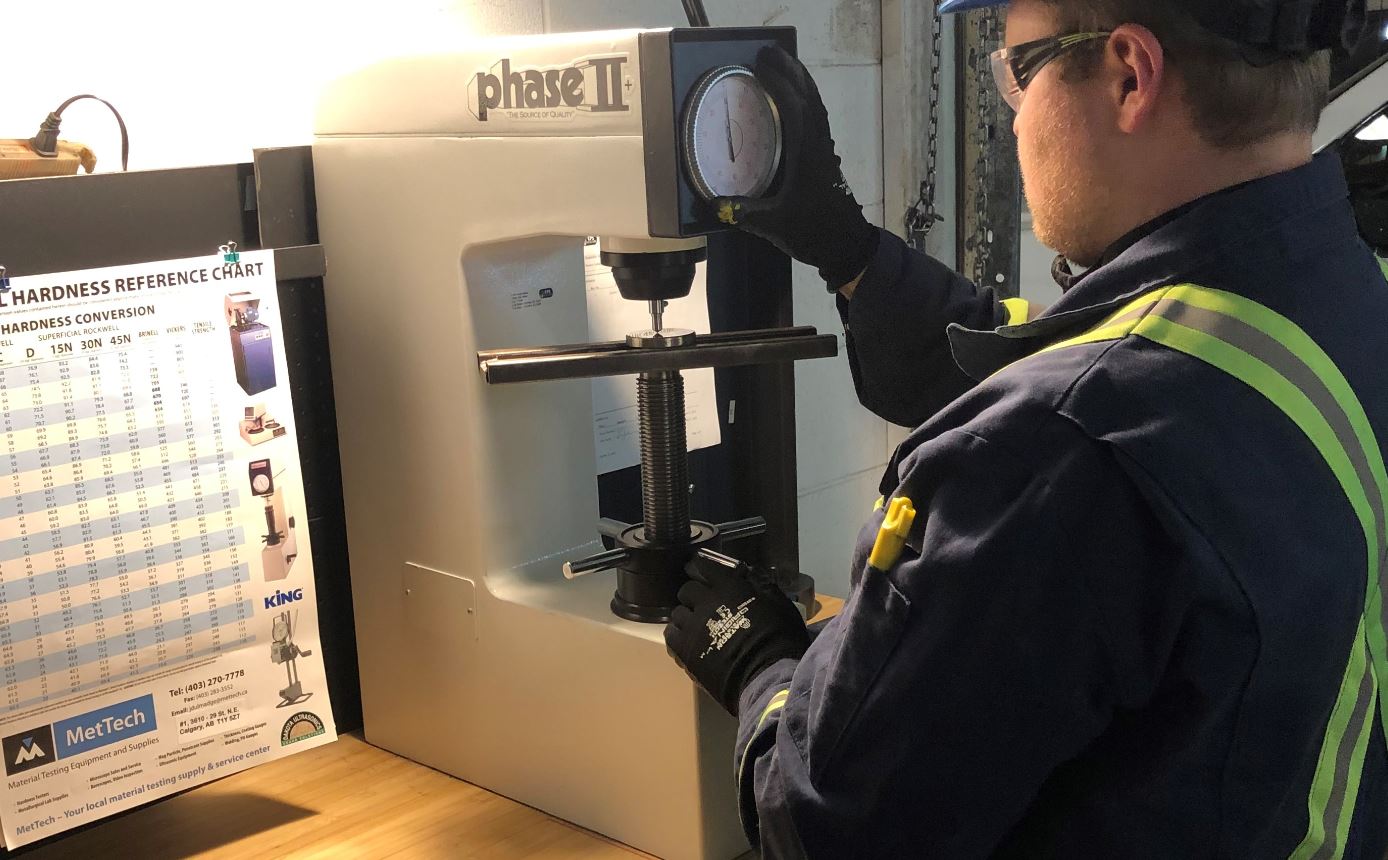
Hardness Testing (HT)

A small indentation is made in material. Comparing the size of this with a similar deformation in a known hardness standard yields a hardness value for the material under test. Hardness can be evaluated on many scales eg. Vickers, Brinell or Rockwell Reliability of results is typically /- 10%. Two techniques are available. 1) Telebrineller – a hammer strikes a device which holds a 10mm ball bearing. The bearing forms a dent simultaneously in the material under test and on the surface of a bar of known hardness. The diameters of the dents are measured. The relative size of the dents determines the hardness value given to the material under test. 2) UCI or Ultrasonic Contact Impedance – a diamond indenter is vibrating at ultrasonic frequency. As the diamond is pressed into the material under test, the frequency of the vibration shifts proportionally with the surface area of the deformation. Because the instrument is previously calibrated to the frequency shift found during the test of a known hardness standard, the hardness of the material can be inferred.
